
Key Takeaways
Makeup around the nose often needs less product and a little more attention to skin prep than the rest of the face. Small adjustments can help you find a routine that feels comfortable and looks even.
- Keep skin clean and comfortably moisturized before applying makeup.
- Let skincare and sunscreen settle, then blot away excess oil or moisture.
- Choose compatible formulas and use a light hand with primer and foundation.
- Press on thin layers and set only where your skin tends to get oily.
- Blot and smooth gently when touching up instead of layering over separation.
Why makeup separates around the nose
The nose has creases, texture, and frequent movement, so base makeup may wear differently there than it does on the cheeks. Oil, dryness, skincare residue, and the way products are layered can all play a part. The useful first step is to notice what the makeup is doing: sliding, flaking, or gathering in small rolls points to different routine adjustments. A guide to foundation separation can offer more general context, while the steps here focus on the nose.
How oil, sweat, and natural skin texture affect foundation
Oil and sweat can soften the makeup film, while natural pores and creases make an uneven surface more visible. That doesn’t mean skin needs to look poreless; it means a thinner, more flexible layer may move more naturally with it. Climate, activity, and individual skin patterns matter, so pay attention to when the separation begins rather than assuming one formula will behave the same for everyone. Mixed Nature offers practical beauty education for readers with varied skin tones, textures, and routines, and that inclusive perspective is useful here: there’s no single nose or skin type to plan around.
How dry patches and flaky skin break up makeup
When the skin around the nose is dry or flaky, foundation can catch on those areas and make them stand out. Adding more coverage usually makes the texture more noticeable, not less. Instead, use a comfortable moisturizer and give it time to settle before applying a small amount of base makeup. For a related approach to dry skin, see this guide to a fresh, dewy look for dry skin.
How excess skincare or sunscreen can cause slipping
A generous layer of skincare can leave a slick surface if it hasn’t absorbed before makeup goes on. Sunscreen still belongs in a daytime routine; the adjustment is to apply it as directed, allow it to settle, and avoid piling several rich products on the nose. If makeup slips soon after application, try simplifying the layers one at a time rather than removing essential sun protection. In much the same way that a moving-day timeline helps keep tasks from colliding, a little time between skincare steps can make the routine feel less rushed.
How incompatible formulas can lead to pilling or separation
Sometimes products roll into little bits as they’re layered, a sign that the combination or application is not working well for your skin. Rubbing, applying too much, or moving quickly from one layer to the next can contribute. Test a simpler pairing on a small area and observe whether the makeup stays smooth. A practical way to narrow down the issue is to compare the feel and finish of each layer:
| What you notice | Possible routine factor | A gentle adjustment |
|---|---|---|
| Makeup slides soon after application | Surface feels slick or damp | Wait longer, then blot lightly |
| Small rolls appear while blending | Layers may be disturbed or too thick | Use less and press rather than rub |
| Foundation catches on flakes | Dry patches are more visible | Moisturize and avoid building coverage |
| Shine returns quickly | Oil or sweat may be breaking through | Blot and set only the shiny area |
These are clues, not diagnoses, and more than one factor can be involved. Change one step at a time so you can tell what actually helps. If the area is persistently irritated, pause products that seem to bother it and consider asking a dermatologist for guidance.
Prep your skin for smoother makeup
A smooth-looking base starts with skin that feels comfortable, not stripped or overloaded. A few calm, repeatable steps are usually easier to assess than a stack of new products. Let your skin’s needs guide the amount of moisturizer, and keep sunscreen in your daytime routine. Mixed Nature shares skincare and beauty guidance for different skin needs, without treating one routine as universal.
Cleanse gently without stripping the skin
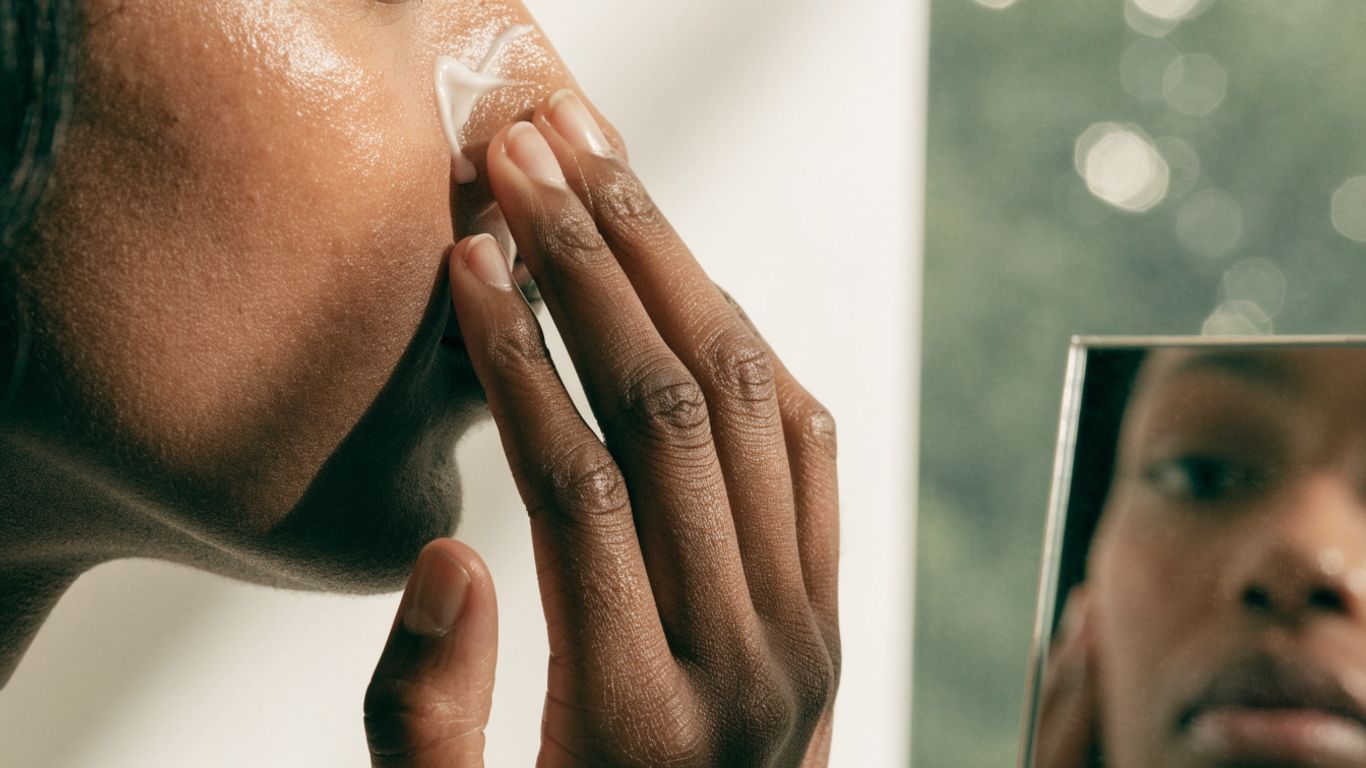
Use a gentle cleanser that removes the day’s residue without leaving the skin feeling tight. If the nose is prone to oil, a thorough but mild cleanse is more useful than scrubbing at the area. Avoid trying to remove every trace of natural oil; that can leave skin uncomfortable and make makeup harder to apply evenly. After cleansing, pat dry rather than rubbing, especially around the nostril creases.
Choose moisturizer based on your skin type
Choose a moisturizer that leaves your skin comfortable without a heavy coating. If the nose gets shiny, you might prefer a lighter texture there than on drier parts of your face; if it flakes, a richer but manageable layer may feel better. You don’t need separate products for every tiny area, but you can adjust the amount. Readers who want a simple starting point can explore a skincare routine guide and adapt it to their own skin.
Give skincare and sunscreen time to settle
Let each layer settle before adding the next, especially when you use moisturizer and sunscreen before foundation. There is no universal waiting time that works for every product, so look for a surface that no longer feels wet or unusually slippery. The point is not to make the routine complicated; it’s to avoid disturbing layers that are still moving around. A short pause can also help you notice whether a product leaves a finish that feels comfortable under makeup.
Blot excess oil before applying foundation
If the nose feels slick after skincare has settled, gently press a tissue over it to lift excess surface oil without wiping away the layers underneath. Keep the pressure light, then assess whether the skin still feels comfortable. A compact prep sequence can keep the routine simple:
- Cleanse gently and pat the skin dry.
- Apply moisturizer where it feels needed.
- Apply sunscreen during the day and allow it to settle.
- Blot only if the nose still feels oily or damp.
This isn’t a rule that every skin type needs the same steps; skip the blot if the area feels dry. The goal is a comfortable surface, not a perfectly matte one.
Choose products that work well together
You don’t need a large collection of base products to get a smoother result. Consider how each layer feels and whether it leaves the next one easy to apply. Mixed Nature’s inclusive makeup tips encourage readers to make choices around their own complexion and preferences, rather than follow one fixed ideal. For more ideas on a minimal base, try this guide to makeup essentials.
Match foundation and primer by formula and finish
A primer is optional, and a foundation may apply well without one. If you use both, check how they behave together on your skin: a slippery primer under a foundation that already moves easily may not be the combination you want, while a dry-feeling base can emphasize flakes. There isn’t a simple label-based rule that guarantees compatibility, so test a small amount and let the layers settle. Choose a finish you like on your skin, then make application adjustments before replacing everything.
Decide whether you need a primer on the nose
Primer can be useful if you like its effect, but the nose does not automatically need another layer. Try foundation without primer on that area for one wear and compare the result. If makeup separates less, you may prefer to leave it out or use a very small amount only where needed. If you do use it, apply a thin layer and give it time before moving on.
Use lightweight, buildable coverage around the nostrils
The folds beside the nostrils can collect extra product, so use a small amount of foundation and build coverage only where you still want it. A sheer layer may be enough to even the area without filling the creases. For additional redness or discoloration, apply a little more precisely rather than coating the whole nose. The finish can remain natural; there is no need to make skin texture disappear.
Check whether skincare and makeup are causing pilling
If little rolls appear as you apply foundation, pause and look at the layer underneath. Try using less product, allowing more settling time, or applying with a pressing motion instead of rubbing. Change one thing at a time and see whether the texture improves. When assessing the result, remember that a routine is personal—much like choosing Bridge Bagels for a particular taste, there’s no reason to assume the same preference suits everyone.
Apply foundation around the nose
Application can make a real difference in the creases around the nostrils. Start with less than you think you need and work in small areas, checking the result in natural light if possible. Avoid repeatedly going over the same spot while the foundation is still moving. A controlled technique helps you add coverage only where it contributes to the finish you want.
Start with a small amount of product
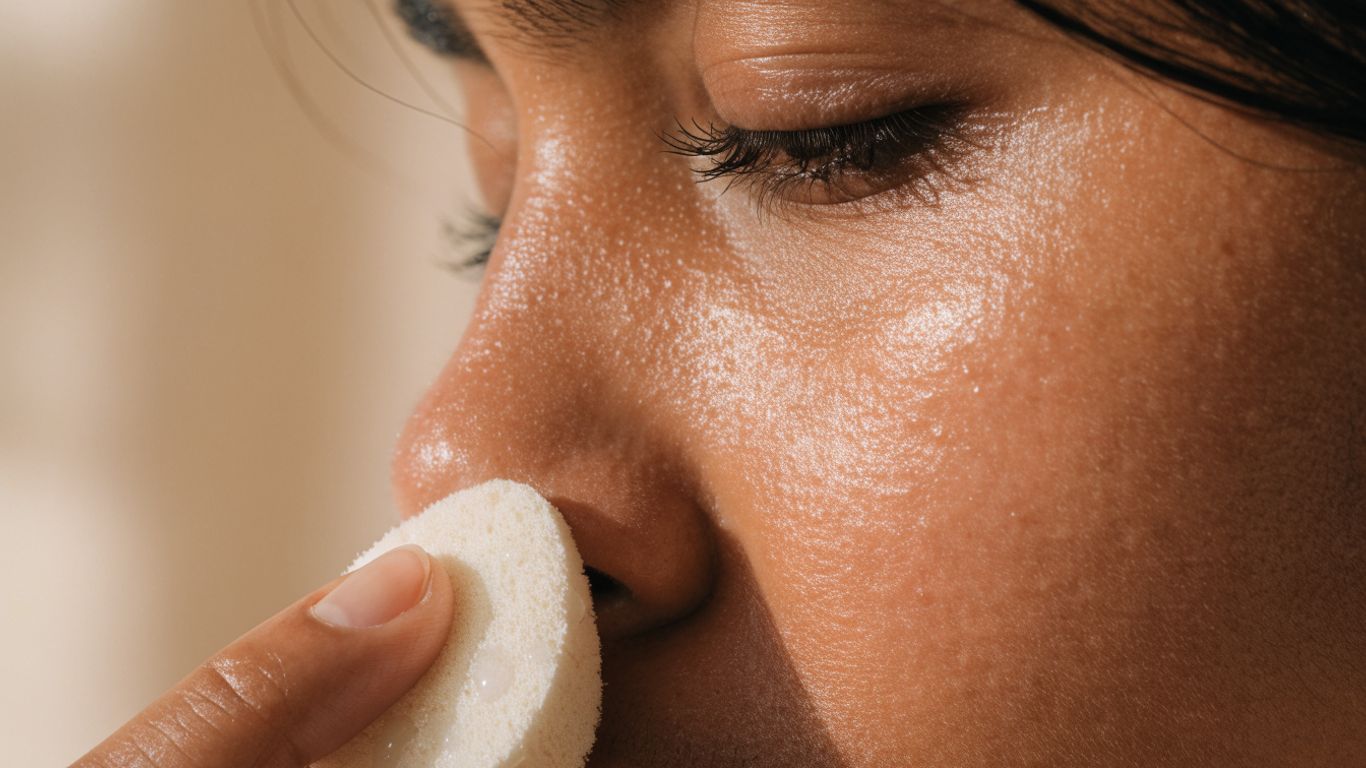
Dispense a small amount of foundation onto the back of your hand or a palette, then pick up only what you need. It is easier to add a little more than to remove a thick layer from a crease. Begin at the center of the nose or on the areas where you want coverage, and keep the nostril folds light. This restrained start can help the skin’s natural texture show through without the makeup looking unfinished.
Press foundation into the skin instead of rubbing
Use gentle pressing motions to place foundation rather than sweeping back and forth over the nose. Rubbing can move the product around and disturb the skincare or primer underneath. Work in small sections, and pause when you reach an even layer. That slower touch is often more comfortable, too, especially if the area is sensitive.
Use a sponge or small brush for the creases
A clean, damp sponge or a small brush can help you reach the narrow folds beside the nostrils. Use a light touch and remove excess product from the tool before it reaches the crease. The aim is precision, not packing foundation into every contour. Keep tools clean, and wash brushes regularly; a brush-cleaning guide can help with the basics.
Build coverage in thin layers
Let the first layer settle, then decide whether you need more. Add a small amount only to areas that still need coverage, blending the edge into the surrounding skin. Several thin applications can look more even than one thick coat, but there is no need to keep layering if the result already feels comfortable. The best stopping point is the one that gives you the coverage you want without buildup.
Set makeup without making it look cakey
Setting products can help manage shine, but more is not always better around the nose. Focus on the areas that tend to get oily, and leave the rest of the skin with the finish you prefer. A light touch can preserve a natural look and reduce the chance of dry-looking buildup. If you use powder or spray, treat each as a finishing choice rather than an automatic extra layer.
Apply powder sparingly to oily areas
If the nose becomes shiny, use a small amount of powder only where needed. Pick up a little product, tap away excess, and apply it with a light touch. A broad layer across the whole nose can emphasize texture or make a dry area look more noticeable. Mixed Nature also shares makeup inspiration that supports individual style; the amount of powder is a personal choice, not a measure of whether a look is complete.
Press powder into creases with a small brush or puff
For the sides of the nose, a small brush or puff offers more control than a large powder brush. Press gently into the crease rather than sweeping back and forth, which can disturb the foundation underneath. Start with very little and check the finish before adding more. If the area looks dry, stop rather than trying to smooth it with extra powder.
Choose setting spray based on your desired finish
A setting spray is optional. If you use one, choose based on the finish you like and follow the product’s directions; a dewier look and a more set look are different preferences. Mist evenly from the recommended distance rather than soaking one small area. Give it a moment to dry before touching your face, and don’t expect spray to correct a thick or unsettled base.
Avoid layering too many setting products
Powder, spray, and repeated touch-ups can add up quickly, especially on a small area like the nose. Choose the setting step that addresses your main concern and see how it wears before adding another. It’s a bit like choosing a non-slip flooring option for a specific need: the useful choice is the one suited to the situation, not simply the greatest number of layers. If the finish is already even and comfortable, leave it alone.
Fix separation and prevent it from returning
When makeup starts to separate, adding foundation straight on top can make the texture more obvious. First identify whether the area is oily, dry, or simply disturbed by movement. Make the smallest repair that restores the finish you want, then let the area be. For a broader range of nose-specific ideas, see this nose makeup separation guide.
Blot oil before touching up
If the nose is shiny, press a clean tissue or blotting paper gently against the skin before applying anything else. Avoid wiping, since that can lift makeup from the area you want to keep intact. Check whether blotting alone has improved the look; it may be all the touch-up you need. Keep the pressure light, especially around the nostrils.
Smooth separated makeup with a damp sponge
If the base has shifted into small patches, use a clean, barely damp sponge to press and gently smooth the edges. Don’t drag it across the area, and avoid adding water until the sponge is wet. Work slowly, then pause to see whether the foundation has settled into a more even layer. A delicate touch helps prevent a small repair from turning into a full-face redo.
Reapply a small amount of foundation only where needed
Once the surface is smoother, apply a tiny amount of foundation only to the spot that still needs coverage. Press it in and soften the edges so it blends into the makeup already there. If the area remains textured, stop rather than adding more product. The goal is to restore balance, not to make the nose look untouched by real skin.
Adjust your routine if the nose stays dry, oily, or irritated
If separation keeps happening, track the routine and conditions around it: what you applied, how long it settled, and whether the day was warm or active. Try changing one step at a time, such as using less primer or adjusting moisturizer on the nose. A routine can be refined without judging your skin or treating every variation as a problem. When irritation persists, pause anything that seems to aggravate it and seek advice from a dermatologist; separate practical help is also available through locksmith services if you are literally dealing with a lock, but it has no bearing on makeup or skin.
Conclusion
To stop makeup separating around the nose, focus on comfortable skin prep, compatible layers, light application, and gentle touch-ups. Your nose may need less product than the rest of your face, and the right balance can take a little experimenting. Keep the steps that make your skin feel good, and let the rest go.
Frequently Asked Questions
Why does my foundation separate around my nose?
Oil, sweat, dry patches, unsettled skincare, product buildup, and rubbing can all contribute. Notice whether the makeup slides, flakes, or gathers, then adjust one part of your routine at a time.
Should I use primer on my nose?
Primer is optional. Try applying foundation without it on the nose and compare the wear; if you prefer primer, use a small amount and let it settle first.
How can I stop foundation from clinging to dry patches?
Use a moisturizer that feels comfortable, let it settle, and apply foundation in a thin layer. Avoid scrubbing flaky areas or layering extra foundation over them.
Should I powder my nose if my makeup separates?
Powder may help with shine, but it won’t fix every cause of separation. Use a small amount only on oily areas and avoid adding it over dry, flaky skin.
Is it better to apply foundation with a brush or sponge?
Either can work. Choose a clean tool that lets you use a light touch and reach the creases without pushing in too much product.
How do I touch up makeup around my nose?
Blot excess oil first, then gently press a barely damp sponge over uneven edges. Add a little foundation only if a spot still needs coverage.
Why does makeup pill when I apply it?
Pilling can happen when layers are disturbed, applied too thickly, or not given time to settle. Try using less product, waiting between steps, and pressing instead of rubbing.