Halloween is coming up, and you know what that means – it’s time to get spooky! If you’re looking to go beyond the usual costume and really make a statement, then mastering zombie makeup is the way to go. It might seem a little intimidating at first, but with a few tips and tricks, you can totally nail that undead look. We’re talking pale skin, sunken eyes, and maybe a few gruesome details. Ready to transform into a creature of the night? Let’s dive into how you can achieve some seriously convincing zombie makeup.
Key Takeaways
- Start with a pale, lifeless base by applying primer and a lighter foundation, adding green or purple tones for a decaying effect.
- Create gaunt features by contouring with dark shades to hollow out cheeks, jawlines, and the forehead, and add shadows to the collarbones.
- Give your eyes a sunken, bruised look by smudging dark eyeshadows underneath and around them, and use kajal for a deathly stare.
- Achieve realistic bloody lips by using a deep red or plum tint, smudging it out for a messy look, and adding fake blood for bite marks.
- Add final gruesome details like fake wounds with liquid latex and tissue, splattering fake blood, and dusting with powder for an aged look.
Mastering The Undead Base For Zombie Makeup
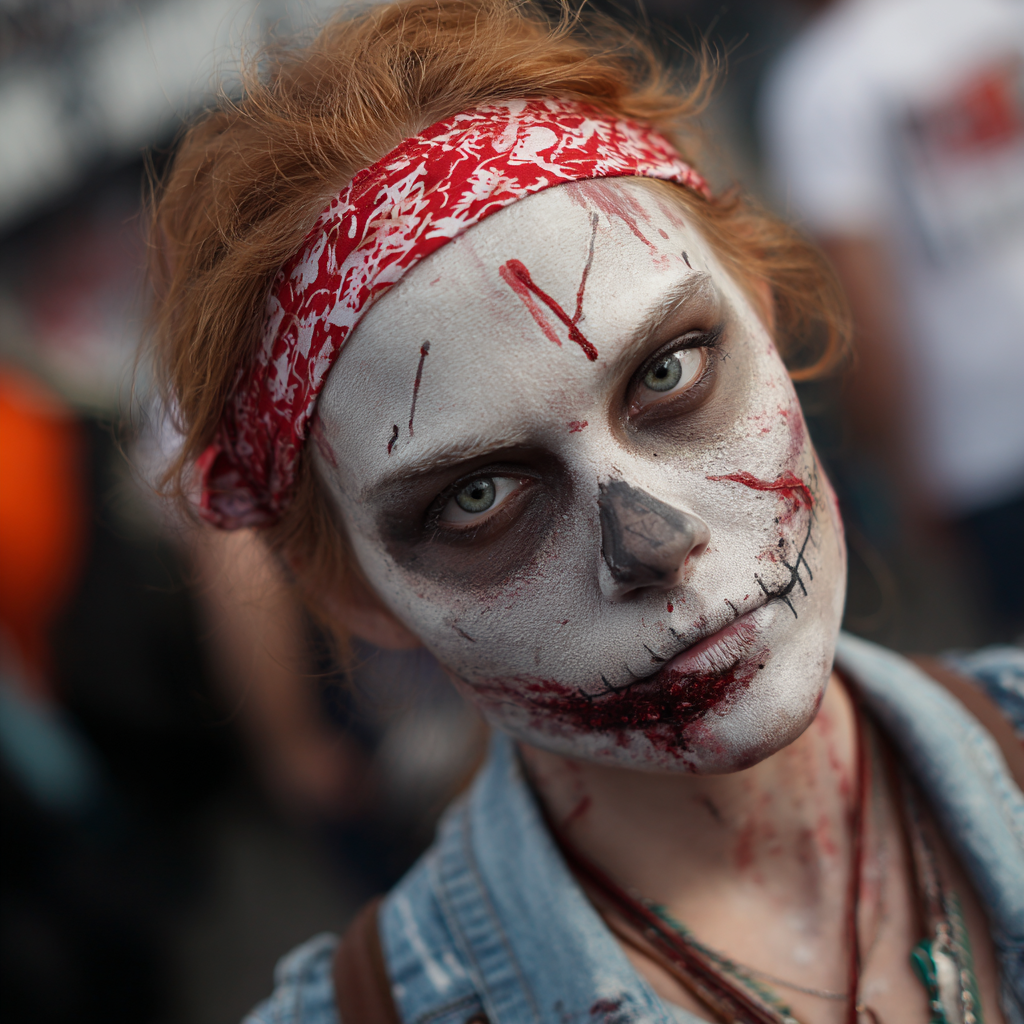
Getting the base right is the first step in any good zombie makeup. You want to ditch that healthy glow and go for something that screams ‘I haven’t seen the sun in years, and frankly, I’m not planning to.’ This is where you start building that lifeless look. Think pale, think sickly, think… well, dead.
Achieving A Pale, Lifeless Complexion
Forget your usual foundation shade. For that authentic undead vibe, you need something significantly lighter. Mixing a bit of white or grey into your foundation can work wonders. Don’t aim for a smooth, even finish; a patchy, uneven application actually looks more convincing for decay. The goal is to look like you’ve been drained of all life and color. It’s all about creating that stark, almost unnatural pallor that makes people do a double-take.
Creating Rotting Skin With Color Accents
Once you have your pale base, it’s time to add those subtle hints of decay. This is where you can really start to sell the ‘rotting’ effect. Think about where blood might pool or where skin might start to discolor. Using muted greens, purples, or even a touch of grey around the temples, under the cheekbones, and along the jawline can mimic bruising and decomposition. Blend these colors softly; you’re not painting a rainbow, just suggesting the grim reality of death. This is a key part of how to do zombie face paint effectively.
The Importance Of Primer For Lasting Zombie Makeup
Nobody wants their carefully crafted zombie look to melt off halfway through the night. That’s where primer comes in. Applying a good primer before your foundation creates a smooth surface for the makeup to adhere to and helps it stay put for hours. This is especially important if you’re planning on being out and about, or if you’re going for a more elaborate, detailed look. A solid base means your makeup will last, letting you focus on scaring people rather than touching up your face. It’s a simple step that makes a huge difference for any easy zombie costume makeup.
Remember, perfection is the enemy of zombie makeup. Embrace the messiness, the unevenness, and the imperfections. That’s what makes it look real.
Here’s a quick rundown of what you’ll need for your undead base:
- Primer: To make sure your makeup lasts.
- Foundation: A shade or two lighter than your natural skin tone, or mix in white/grey.
- Eyeshadows/Powders: Muted greens, purples, greys, and blacks for contouring and discoloration.
- Makeup Sponges/Brushes: For application and blending. Don’t be afraid to get messy with your tools.
- Setting Spray: To lock it all in.
Sculpting Gaunt Features For Zombie Makeup
Alright, so you’ve got that sickly base down. Now, let’s talk about making your face look like it’s been through the wringer – or, you know, a zombie apocalypse. We need to create those gaunt, hollowed-out features that scream ‘I haven’t eaten a decent meal in weeks, maybe months.’
Contouring For Hollowed-Out Cheeks And Jawlines
This is where the magic happens. Forget your usual bronzer; we’re going for something much more dramatic. Grab a cool-toned contour shade – think deep browns, grays, or even a dark purple. You want to suck the life right out of your face.
- Cheekbones: Suck in your cheeks like you’re trying to whistle. See those hollows? That’s where your contour goes. Blend it upwards towards your hairline, but keep it concentrated in that sunken area.
- Jawline: Define that jaw by applying contour directly underneath it. This makes your jaw look sharper and more sunken.
- Temples: Don’t forget your temples! A little dark shadow here adds to the overall gaunt effect.
Adding Shadows To The Forehead And Collarbones
We’re basically trying to make it look like there’s nothing left but bone and decaying flesh. Think about where shadows would naturally fall on a severely emaciated person.
- Forehead: Apply contour in a C-shape around your hairline and down towards your temples. This makes your forehead look more prominent and hollow.
- Collarbones: If your outfit shows off your collarbones, really emphasize them. Draw a line right in the dip and blend outwards to make them pop.
- Under the Chin: A bit of shadow here can make your neck look thinner and more skeletal.
Enhancing Sunken Features With Dark Tones
Now, let’s really push those sunken areas further. This is where you can get a bit messy and really play with depth. Think about using a combination of colors to really sell the effect.
The goal here isn’t to create a pretty contour; it’s to mimic the look of muscle and skin wasting away, leaving only the bone structure visible beneath. Use a stipple sponge for a more textured, decaying look.
Here’s a quick rundown of where to focus those dark tones:
| Area | Color Suggestion | Technique |
|---|---|---|
| Under Eyes | Dark Brown/Gray | Smudge heavily for a bruised, tired look. |
| Cheek Hollows | Deep Purple/Red | Blend into contour for a sickly appearance. |
| Jawline | Black/Dark Gray | Sharpen the edge for a skeletal effect. |
| Forehead | Muted Green/Brown | Create shadows near the hairline and temples. |
Remember, zombies aren’t exactly known for their perfectly blended makeup. A little roughness adds to the authenticity. You can even use a bit of Halloween makeup inspiration to add some extra flair to these shadowed areas.
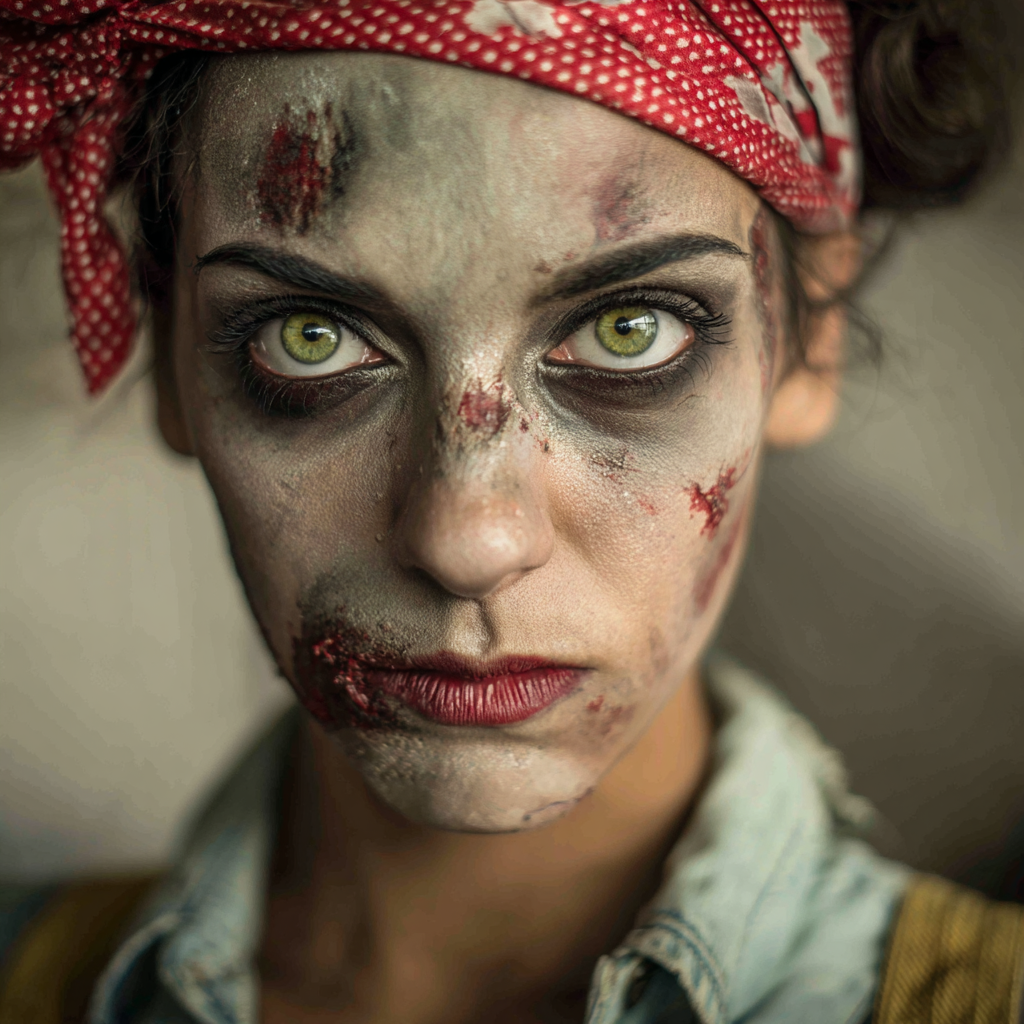
Crafting Eerie Eyes For Your Zombie Makeup
The eyes are often called the windows to the soul, but for a zombie, they’re more like vacant portals to the afterlife. Getting that dead-eyed look is key to any spooky makeup ideas. We want to make them look sunken, bruised, and utterly devoid of life. It’s not about looking pretty; it’s about looking undead.
Hollowing The Eyes With Dark Shadows
To really sell the ‘haven’t slept in decades, possibly centuries’ vibe, we need to create some serious depth. Think less ‘smoky eye’ and more ‘eternal darkness’.
- Start with a dark base: Use a deep grey or black eyeshadow and pack it all over the eyelid, extending it up towards the brow bone. Don’t be shy with it.
- Create the hollows: Take a matte brown or burgundy shade and blend it heavily into the crease and, most importantly, under the eye. You want to create a shadow that makes your eye sockets look deeper than they actually are. Blend, blend, blend until it looks like a natural (or unnatural, in this case) shadow.
- Add a touch of decay: A little bit of a deep red or purple blended into the outer corners and under the lower lash line can suggest old, festering bruises.
Adding Bruised Effects With Red Hues
Bruises aren’t just black and blue, especially on decaying flesh. Reds and purples are your best friends here. You can use cream paints or even eyeshadows for this.
- Layering is key: Don’t just slap on a blob of red. Start with a lighter, more pinkish-red and build up to deeper, more bruised tones.
- Placement matters: Focus these colors around the eye socket, where impact would have occurred, and also along the lower lash line. Think about where the skin would be thinnest and most likely to show discoloration.
- Blend softly: You want it to look like a bruise, not a fresh wound. Soften the edges so it looks like it’s part of the skin’s decay.
Creating A Death Stare With Kajal And Mascara
Now for the final touches that really make the eyes pop – or rather, un-pop. We want a look that says ‘I see dead people… and I am dead people.’
- Waterline intensity: Line your entire waterline (both top and bottom) with a black kohl pencil or kajal. This instantly makes your eyes look smaller and more intense. Smudge it out just a tiny bit for a gritty effect.
- Mascara madness: Apply a generous amount of black mascara to your top and bottom lashes. Clumpy is good here; it adds to the unkempt, decaying look. You can even use a bit of black eyeshadow on your lashes to make them look thicker and more brittle.
- The vacant gaze: Try to avoid blinking too much while people are looking at you. A fixed, unblinking stare is incredibly unsettling and perfect for a zombie.
Remember, the goal with zombie eyes is to look as unnatural and unsettling as possible. Think about what happens when blood pools and skin decays. It’s not pretty, but it’s effective for a truly terrifying look.
The Macabre Details Of Zombie Makeup Lips
Alright, let’s talk about the mouth. A zombie’s lips aren’t exactly going to be plump and rosy, are they? We need to make them look as dead and dried out as the rest of the undead. The key here is to ditch any hint of life and go for a cracked, desiccated appearance.
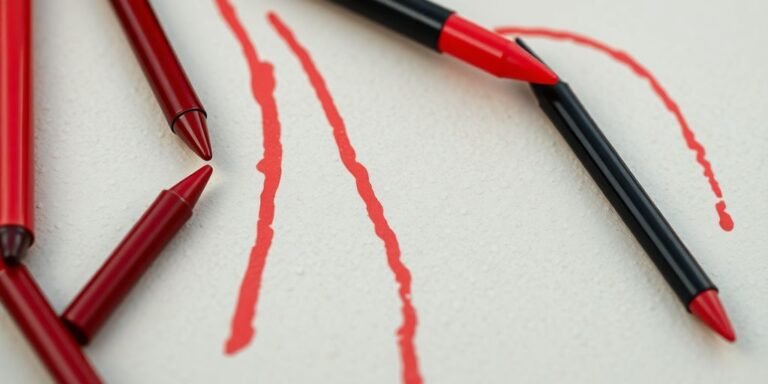
Achieving A Dried Blood Lip Effect
First things first, you’ll want to cover your natural lip color. A bit of foundation or concealer works wonders for this. Then, grab a deep, brownish-red or plum shade. Instead of applying it like lipstick, dab it on unevenly. Think of it like dried blood that’s been there for a while. You can even use a bit of black mixed in to deepen the shadows and make them look more sunken.
Smudging For A Messy, Imperfect Look
Perfection is the enemy of zombie realism. Use your finger or a stiff brush to smudge the color outwards from the lip line. Concentrate more color in the creases and corners of the mouth. This gives that unsettling, just-been-eating-something-questionable vibe. Don’t be afraid to get a little messy; it adds to the authenticity. You can even add a touch of dark brown or black around the edges to make them look chapped and cracked.
Adding Gory Bite Mark Illusions
For that extra touch of horror, let’s add some bite marks. You can achieve this in a few ways. One method is to use a fine brush and some fake blood, drawing jagged lines around the mouth. Another, more advanced technique, involves using liquid latex and tissue paper to create raised, torn skin effects, which you can then shade with reds and purples to look like a fresh wound.
A little bit of fake blood dripping from these marks really sells the effect. For a truly gruesome look, consider adding some fake teeth or even just smudging some dark red around the corners to mimic a fresh kill. You can find some great fake blood products online that really make a difference.
Untamed Brows And Flesh Effects In Zombie Makeup
Now that you’ve got the base and the gaunt features down, let’s talk about the details that really sell the undead look. We’re talking about wild brows and some seriously creepy flesh effects.
Giving Brows A Wild, Chaotic Appearance
Forget perfectly sculpted arches. For a zombie, brows should look like they haven’t seen a comb in decades, or maybe ever. Grab a spoolie brush and just brush your brow hairs upwards and outwards. Don’t be afraid to get messy. If you have lighter brows, use a dark brown or even a grey pencil to fill in any sparse areas, making them look thicker and more unruly. This adds a lot of character, like your zombie has been through some rough times, probably involving a lot of digging.
Creating Realistic Wounds With Latex
This is where things get really gory. For a truly convincing rotting flesh makeup tutorial, you’ll want to experiment with liquid latex. It’s surprisingly easy to use and can create all sorts of gruesome effects. You can build up layers to create raised scars, peeling skin, or even gaping wounds. A common technique involves using tissue paper or cotton balls with the latex to create texture. Once it’s dry, you can shade it with dark reds, purples, and blacks to make it look bruised and infected. Splattering some fake blood around the edges really seals the deal.
Adding Peeling Skin For Decay
Peeling skin is a classic sign of decay, and you can achieve this effect with a bit of patience and some everyday items. After applying liquid latex and letting it dry, you can gently peel back sections of it to create the illusion of skin sloughing off. You can also use toilet paper or paper towels torn into small pieces, adhere them with latex, and then paint over them to look like dead, flaking skin.
The key is to make it look uneven and ragged. This technique is a staple in many rotting flesh makeup tutorials because it’s so effective at showing decomposition. You can find great kits online that include everything you need for special effects like this zombie SFX makeup.
Remember, the goal with these details is imperfection. Zombies aren’t neat. They’re decaying, messy, and terrifying. Embrace the chaos and don’t be afraid to get a little gross with it. It’s all part of the fun of becoming the undead.
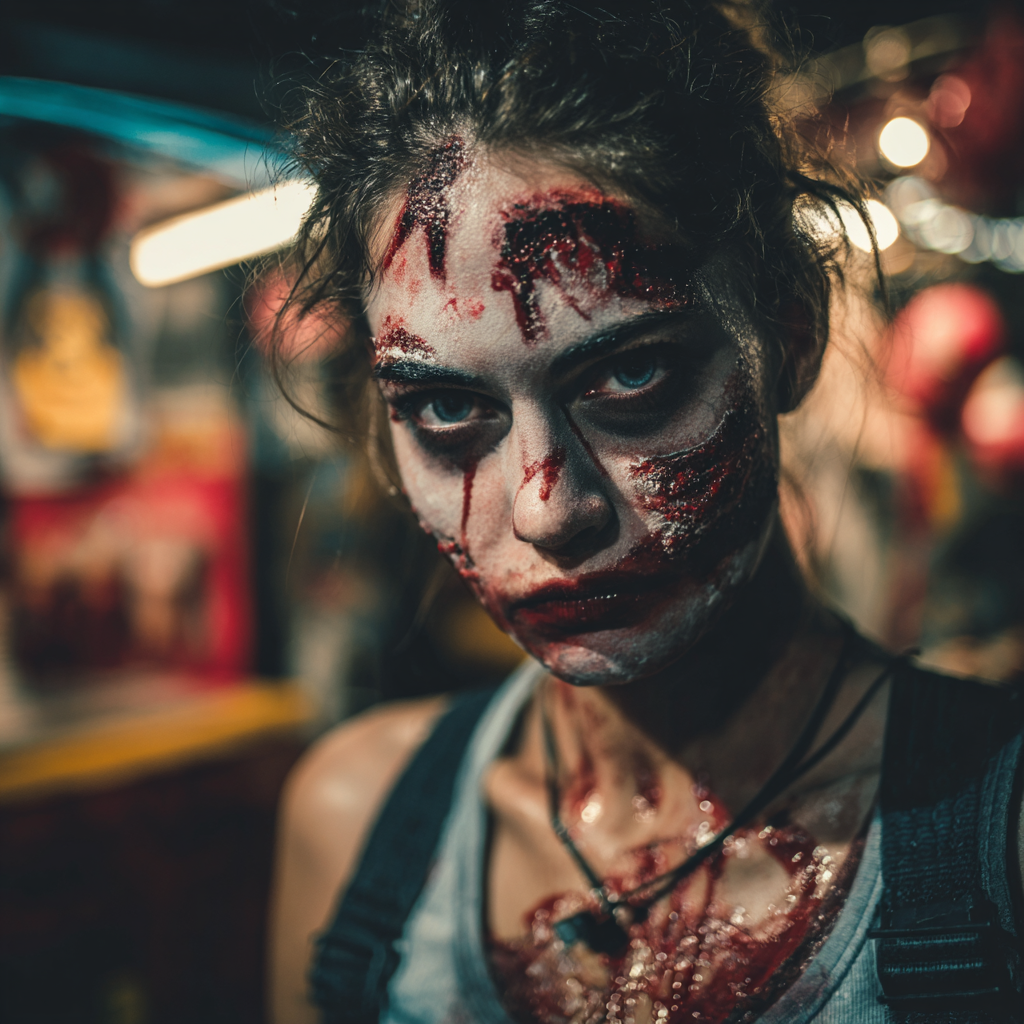
Finishing Touches For Ultimate Zombie Makeup
Alright, so you’ve got the base, the hollows, the eyes, and the lips looking suitably grim. But we’re not quite done yet. To really sell that undead look, we need to add those little details that make people do a double-take. Think of these as the final flourishes that take your zombie from ‘meh’ to ‘oh my god, is that real?’
Splattering Fake Blood For Realism
Fake blood is your best friend here. Don’t just slap it on in big blobs, though. You want to create realistic gore. A good way to do this is to thin out some fake blood with a little water – just a tiny bit. Then, use an old toothbrush or a stiff brush. Dip it in the thinned blood, pull back the bristles with your finger, and let it flick onto your face and clothes. This creates a splatter effect, like you’ve been through a few close calls. You can also use a sponge to dab blood around wounds or the corners of your mouth for a more concentrated look. The key is variation in the splatter pattern.
Dusting For A Centuries-Old Corpse Vibe
Zombies aren’t usually fresh out of the morgue; they’ve been around for a while. To get that dusty, desiccated look, grab some baby powder or a translucent setting powder. Lightly dust it over your face, neck, and even your hair. Focus on areas where dust would naturally settle, like the hairline, around the nose, and in the creases of your skin. This dulls any shine and gives you that eerie, almost mummified appearance. It really helps sell the idea that your character has been wandering for ages.
Accessorizing With Eerie Contacts And Dark Nails
Finally, let’s talk accessories. These are the cherry on top of your undead sundae. If you can get your hands on some eerie contact lenses – think solid white, black sclera, or even a creepy red – they can completely transform your eyes. Just make sure you get them from a reputable source and know how to use them safely. For your hands, skip the bright nail polish. Instead, go for dark, chipped polish, or even just smudge some black or grey eyeshadow onto your natural nails. It adds another layer of decay and neglect to your overall look. These little touches are what make your halloween special effects makeup truly stand out.
Ready to Haunt?
So there you have it, your guide to becoming the undead. From that sickly pale base to the gory details and tattered clothes, you’re all set to join the horde. Don’t be afraid to get a little messy with it – that’s kind of the point, right? Now go forth and give everyone a good scare this Halloween. Just try not to bite anyone… unless that’s part of the plan. Have fun out there, you magnificent monsters!
Frequently Asked Questions
What are the basic steps to create zombie makeup?
To start your zombie transformation, begin with a pale base using primer and a lighter foundation. Then, use dark colors to make your cheeks and forehead look sunken. Don’t forget to make your eyes look tired and bruised, and smudge some dark colors around them. For the lips, aim for a dry, cracked look, maybe with a bit of fake blood. Finally, add some fake wounds or peeling skin using special effects products like liquid latex and tissue, and shade them with dark reds and purples to make them look rotten.
How can I make my eyes look truly dead and creepy?
To get that spooky, lifeless stare, use dark eyeshadows like black, grey, and deep red around your eyes. Smudge them well to create dark circles that make your eyes look sunken. You can also use a dark eyeliner and smudge it outwards for a bruised effect. For an extra chilling touch, consider using colored contact lenses, like white or black ones, to really make your eyes pop in a terrifying way.
What colors are best for zombie makeup?
The best colors for zombie makeup are usually muted and dark. Think greys, blacks, and deep, bruised reds and purples. These colors help create a look of decay, dirt, and old wounds. A pale, almost white base is also essential to make the skin look lifeless. You can also add hints of green or yellow to suggest decomposition.
How do I create realistic fake wounds for my zombie look?
You can create realistic wounds using common items! Liquid latex is great for making peeling skin or scars. Apply layers of latex and let them dry, then carefully tear them to create openings. You can also use scar wax, which is like a putty, to build up raised areas or deep cuts. After creating the wound shape, color it with dark reds, purples, and blacks to make it look infected and old. Splattering fake blood around the edges really sells the effect.
Can I make my lips look like a zombie’s?
Absolutely! Start by covering your lips with a bit of foundation to get rid of their natural color. Then, use a dark, dried-blood red or deep plum lip tint. Instead of a clean line, smudge the color outwards with your fingers for a messy, uneven look. You can also add a touch of fake blood near the corners of your mouth to make it look like you’ve been feasting.
What else can I do to complete my zombie costume?
Once your makeup is done, think about your clothes! Torn, dirty, and ripped clothing works best – think old shirts, ripped jeans, or tattered dresses. You can also dust your hair and clothes with baby powder to make them look old and dusty, like a zombie that’s been in a grave for ages. Adding eerie contact lenses or painting your nails black will also really finish off the terrifying undead look.


**breathe**
breathe is a plant-powered tincture crafted to promote lung performance and enhance your breathing quality.
Yo, I’ve been hitting up y777 lately and it’s been a decent time. Nothing crazy special, but a solid option when I’m bored. Give it a roll!
That’s a fascinating take on longshot potential! Seeing platforms like jili56 embrace local payment options (GCash, PayMaya) really shows understanding of the Filipino market – smart move for accessibility! 🤔
I haven¦t checked in here for a while because I thought it was getting boring, but the last several posts are great quality so I guess I will add you back to my daily bloglist. You deserve it my friend 🙂
Lovely just what I was searching for.Thanks to the author for taking his clock time on this one.